Garage Door Broken Spring Repair & Replacement in Alvin, TX
(Same-Day Help When Your Door Won’t Lift)You may hear a loud bang from the garage.
You press the remote. The opener hums. The door barely moves.
Or the door lifts a few inches and stops.
That usually means the spring can’t carry the weight anymore.
This page covers what to do right now, how spring replacement works, what affects price, and how to avoid repeat failures.
This page covers what to do right now, how spring replacement works, what affects price, and how to avoid repeat failures.
Call This a “Stop-Using-It” Problem
A garage door spring is not a comfort part. It’s a lifting part.
When it breaks, the door becomes dangerously heavy.
Do this right now
- Stop pressing the opener button. Repeated tries can burn the motor.
- Keep kids and pets away from the door area.
- Do not try to lift the door alone if it feels heavy.
- If the door is stuck half open, avoid walking under it.
If your car is trapped
This happens all the time. Take a breath. Don’t force it.
We’ll get the door moving safely again.


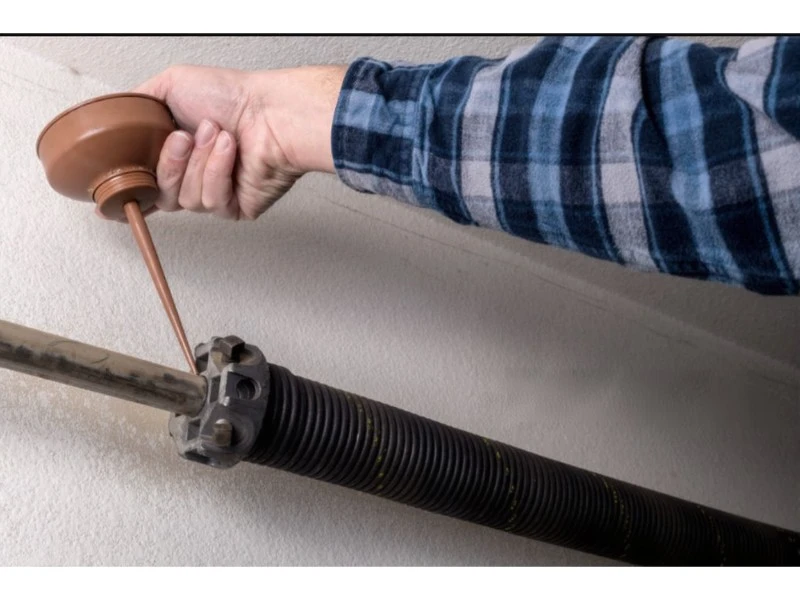
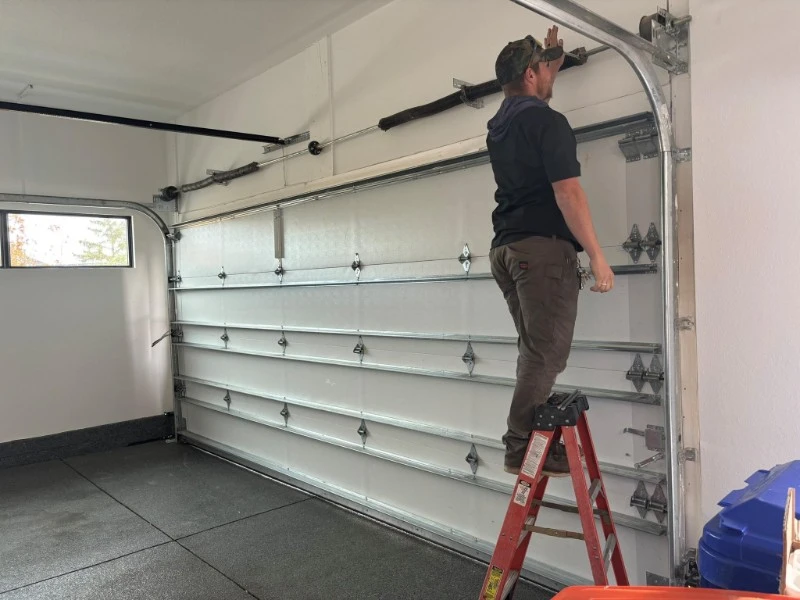
A quick visual check (safe to do)
Stand inside the garage with the door closed. Look above the door.
- If you have a torsion spring, you may see a gap in the coil.
- If you have extension springs (often along the horizontal tracks), one side may hang loose.
If you see damage, stop there. Don’t touch the spring system.
Signs Your Garage Door Spring Is Broken (Or About to Break)
Most homeowners notice the failure in a few clear ways.
Common broken spring symptoms
- A loud bang (like a firecracker) from the garage
- The door won’t open, or opens only a few inches
- The door feels extremely heavy when you try to lift it by hand
- The opener runs but the door doesn’t move
- The door moves unevenly or looks crooked
Why Springs Break in Alvin Homes
Springs wear out. They don’t last forever. They’re rated by “cycles.”
One cycle equals one open + one close.
In real life, many families use the garage as the main entrance. That can mean 6–10 cycles a day. Sometimes more.
The most common reasons we see
- Normal wear from daily use
- Incorrect spring size installed in the past (too weak or too strong)
- Rust and corrosion (humidity speeds this up)
- Poor door balance (door strains the spring system)
- Worn rollers and misaligned tracks (adds extra load)
- Heavier door upgrades without spring upgrade (insulation, new panels, etc.)
A spring rarely “fails alone.”
It often fails after months of extra strain from other worn parts.

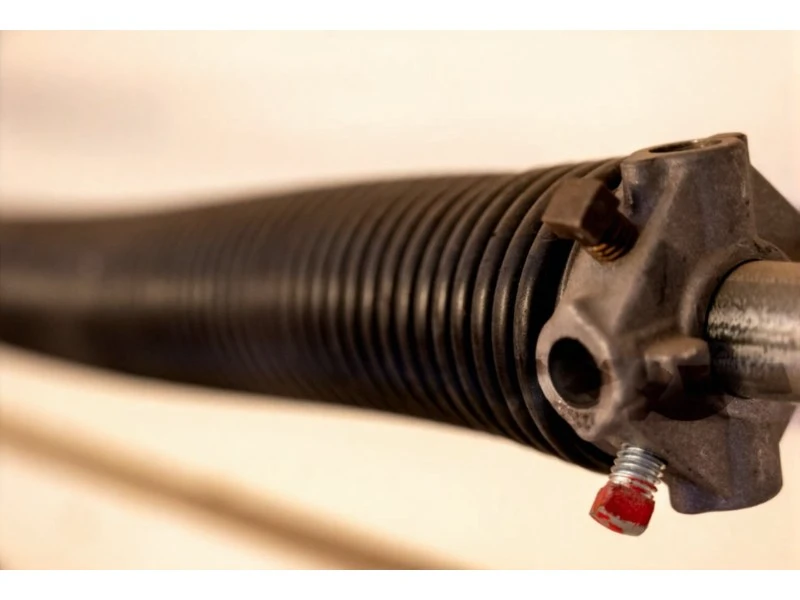
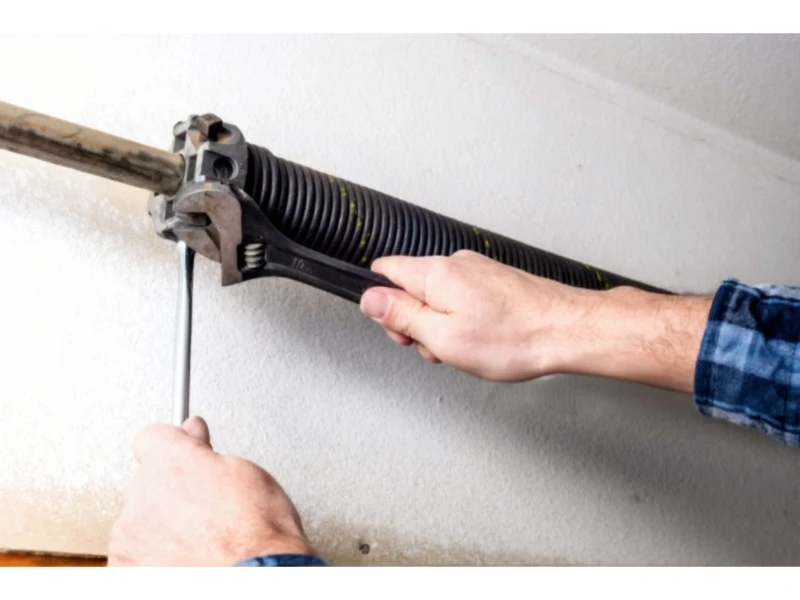
Torsion vs Extension Springs (What You Have Matters)
Not all spring systems work the same way. The repair approach changes based on your setup.
| Spring system | Where it sits | How it works | What fails most |
|---|---|---|---|
| Torsion spring | Above the door on a metal shaft | Twists to lift door weight | Spring coil breaks, bearings wear, cables drift |
| Extension spring | Along the side tracks | Stretches to lift door weight | Spring snaps, pulleys wear, cables fray |
What we recommend in most homes
Torsion systems usually give better control and smoother lift.
If you have extension springs, we pay extra attention to containment and hardware condition because the system relies on more moving parts.

What “Spring Replacement Done Right” Actually Includes
A lot of people think spring repair means “swap the spring and leave.”
That’s how you get repeat breakdowns.
- Smooth lift
- Correct balance
- Safe operation
- Less strain on the opener
Here’s what we check every time
- Door weight and spring sizing (the foundation)
- Cable condition and correct routing
- Drum alignment and secure set screws
- End bearing plates and center bearing wear
- Track alignment (so the door runs straight)
- Roller wear (worn rollers add drag)
- Opener performance after the door is balanced
When you get the sizing and balance right, the door feels lighter, runs quieter, and protects the opener.
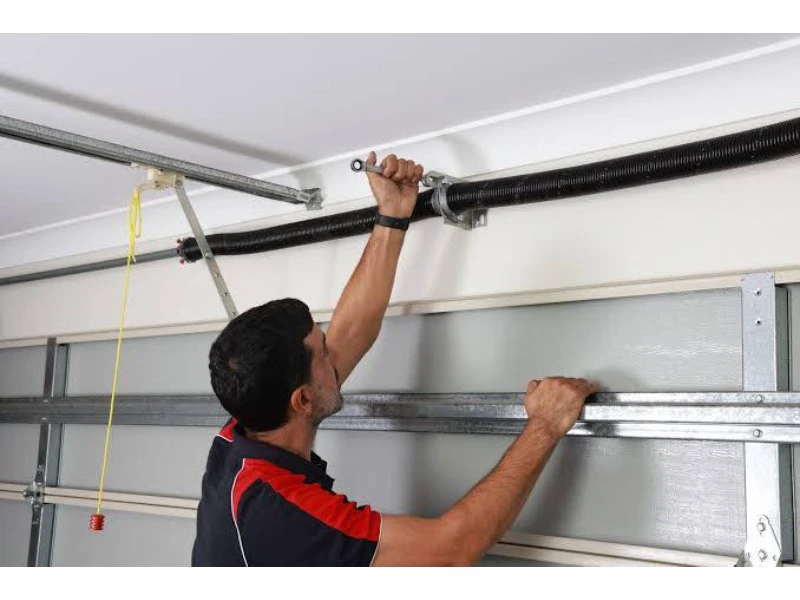
Our Broken Spring Repair Process (Step-by-Step)
Step 1: Safety and inspection
We secure the door and inspect the entire lift system.
This prevents sudden drops and avoids cable whip.
Step 2: Confirm the correct spring setup
We don’t guess spring size.
We match the spring to the door weight and configuration.
Step 3: Replace springs as a set when needed
If you have two springs and one breaks, the other is often near the end of its life too.
Replacing both helps balance the door evenly and avoids a second failure soon after.
Step 5: Balance test + full cycle test
We test the door by hand first.
Then we run full open/close cycles and confirm stable operation.

Step 4: Rebuild the lift system around the spring job
We reset the system for smooth travel:
- Proper cable tension
- Drum alignment
- Bearing check
- Hardware tightening where needed
Step 6: Opener check
A spring failure can throw off opener settings and stress the motor.
We confirm the opener runs smoothly after the door is balanced.

How Long Does Spring Repair Take?
Most spring replacements are straightforward when parts match your door.
Typical time range
- Standard spring replacement: often within 1–2 hours
- More time needed when: cables are damaged, tracks are bent, hardware is worn, or the door is out of balance from other issues
If your door is off-track too, we usually handle that in the same visit.
High-Cycle Springs (When Upgrading Makes Sense)
Some homes in Alvin use the garage door constantly—school runs, work commutes, weekend errands, sports gear, you name it.
If your garage door is your main entrance, a standard spring may wear out sooner than you expect.
High-cycle upgrade makes sense if:
- You use the door many times daily
- You’ve replaced springs more than once in a few years
- You have a heavier door (insulated or oversized)
- You want fewer breakdowns
Upgrading springs is one of the most practical “spend once, save later” moves in garage door repair.
What Affects the Price of Broken Spring Repair?
People want a simple number. Real pricing depends on the system.
Main cost factors
- Spring system type: torsion vs extension
- Door size and weight: single vs double, insulated vs non-insulated
- One spring vs two springs: and whether both should be replaced
- Hardware condition: cables, bearings, drums, rollers
- Door condition: alignment issues, track wear, prior incorrect repairs
- Urgency: after-hours emergency calls can differ
What you should expect from a fair estimate
- Clear scope in writing
- What parts are being replaced
- Whether both springs are included (if applicable)
- What testing is included at the end
If someone quotes you without asking door size, spring type, or symptoms, be careful. Springs are not “one-size-fits-all.”

Avoid these habits
- Don’t “help” the door with the opener when it struggles
- Don’t keep cycling the remote when the door doesn’t move
- Don’t ignore a door that suddenly feels heavier
Springs usually give warnings. Most people just don’t notice until the day it breaks.
Practical Tips to Make Your New Springs Last Longer
You don’t need a toolbox to protect your door. You just need good habits.
Do these things
- Keep the area near the tracks clear
- Listen for new noises (grinding, squealing, popping)
- Watch the door travel—crooked movement is an early warning
- Schedule a tune-up before problems stack up, see maintenance & tune-ups

Common add-ons we find during spring repair
- Frayed cables
- Worn rollers
- Loose track brackets
- Bent track sections
- Opener force and travel adjustments after balancing
Alvin-Specific Note: Timing Matters
If your spring breaks on a busy weekend—especially during local traffic spikes around downtown events at National Oak Park or seasonal rush near Froberg’s—same-day availability can fill up faster.
If the door is stuck open, call early.
That’s the fastest way to get it secured.
Related Services You May Need (And We Can Handle Same Visit)
Spring failures often come with “friends.”
If your opener also acts up, see opener repair.
If your door is crooked or jammed, see Off-track repair.